SHOT GUIDE · MOUNT BATUR
Mount Batur sunrise: the gear that gets it
A guide is mandatory and the summit sits near 10°C before dawn. Here's the 4am plan, the low-light settings, and the gear that comes home with the shot.
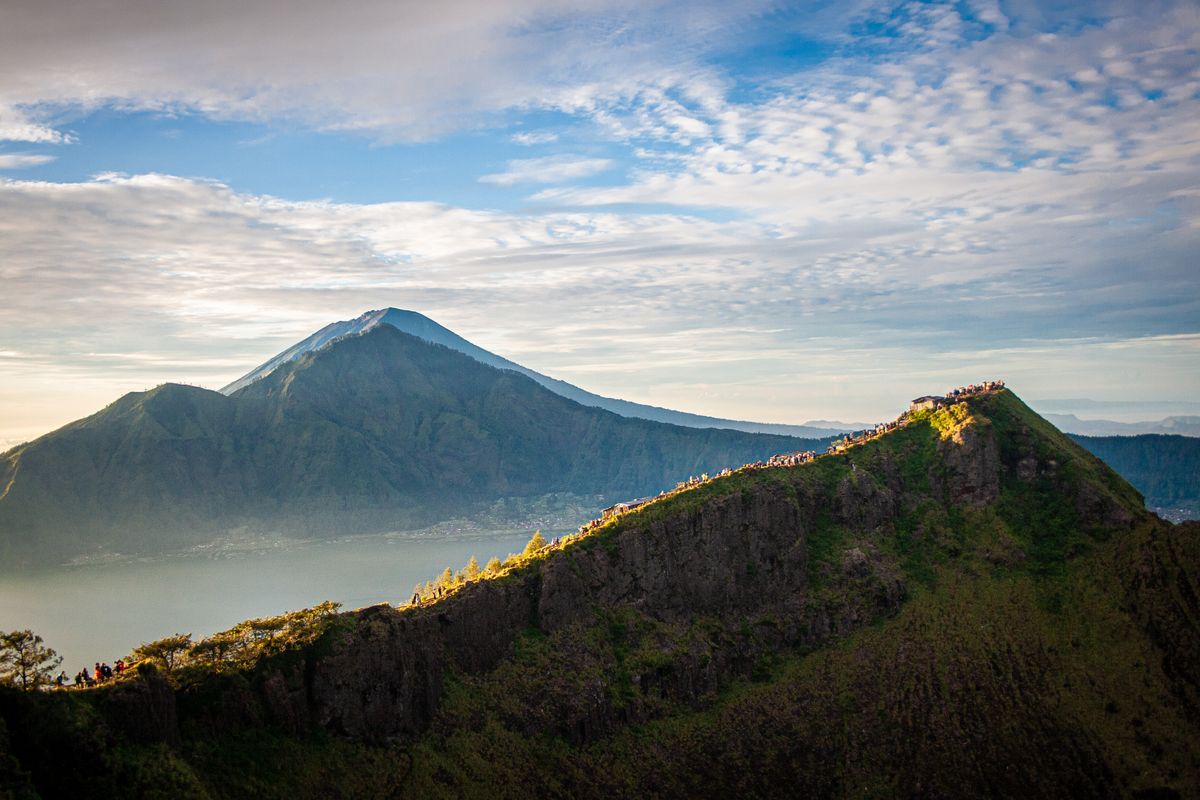
That gold line on the horizon is the whole reason your alarm goes off at 1am. From the rim of Mount Batur the sun comes up behind Mount Agung, the caldera and Lake Batur sit in shadow far below you, and for a few minutes the light is the shot. Then it's gone. Most people climb two hours in the dark, reach the top, and film it on a cold phone that turns the whole sky to grey mush. Here's how to come down with the picture you climbed for.
Is it worth the 2am start?
Yes, on a clear dry-season morning, if you can handle a climb in the dark. It's about 700 metres of loose volcanic gravel from the trailhead near Toya Bungkah up to the 1,717 metre summit, in roughly 10°C air, by head-torch. At the top you get the sea of cloud, the lake in shadow and Agung catching the first light. It's one of the few places in Bali where you stand above the weather.
Skip it if the forecast is cloudy. On an overcast morning the summit sits in fog and there's no colour to shoot, and you'll have climbed for a grey wall. Skip it if two hours on sliding rubble in the dark isn't for you. And skip it if you only have a phone and won't shoot in manual, because auto mode will chase the bright sun and lose the whole caldera. The reward here is narrow and the effort is real, so go on a morning that gives you a chance.
The shot
There are two things worth filming here, and they want different gear.
The landscape. The classic frame is shot from the rim: the caldera and Lake Batur dark in the foreground, Mount Agung a clean silhouette on the horizon, and the sun breaking behind it. One hiker who has done it describes the gold and orange rays bursting from behind Agung's shape. It's a high-contrast scene, very dark land under a very bright sky, and the trick is holding both at once.
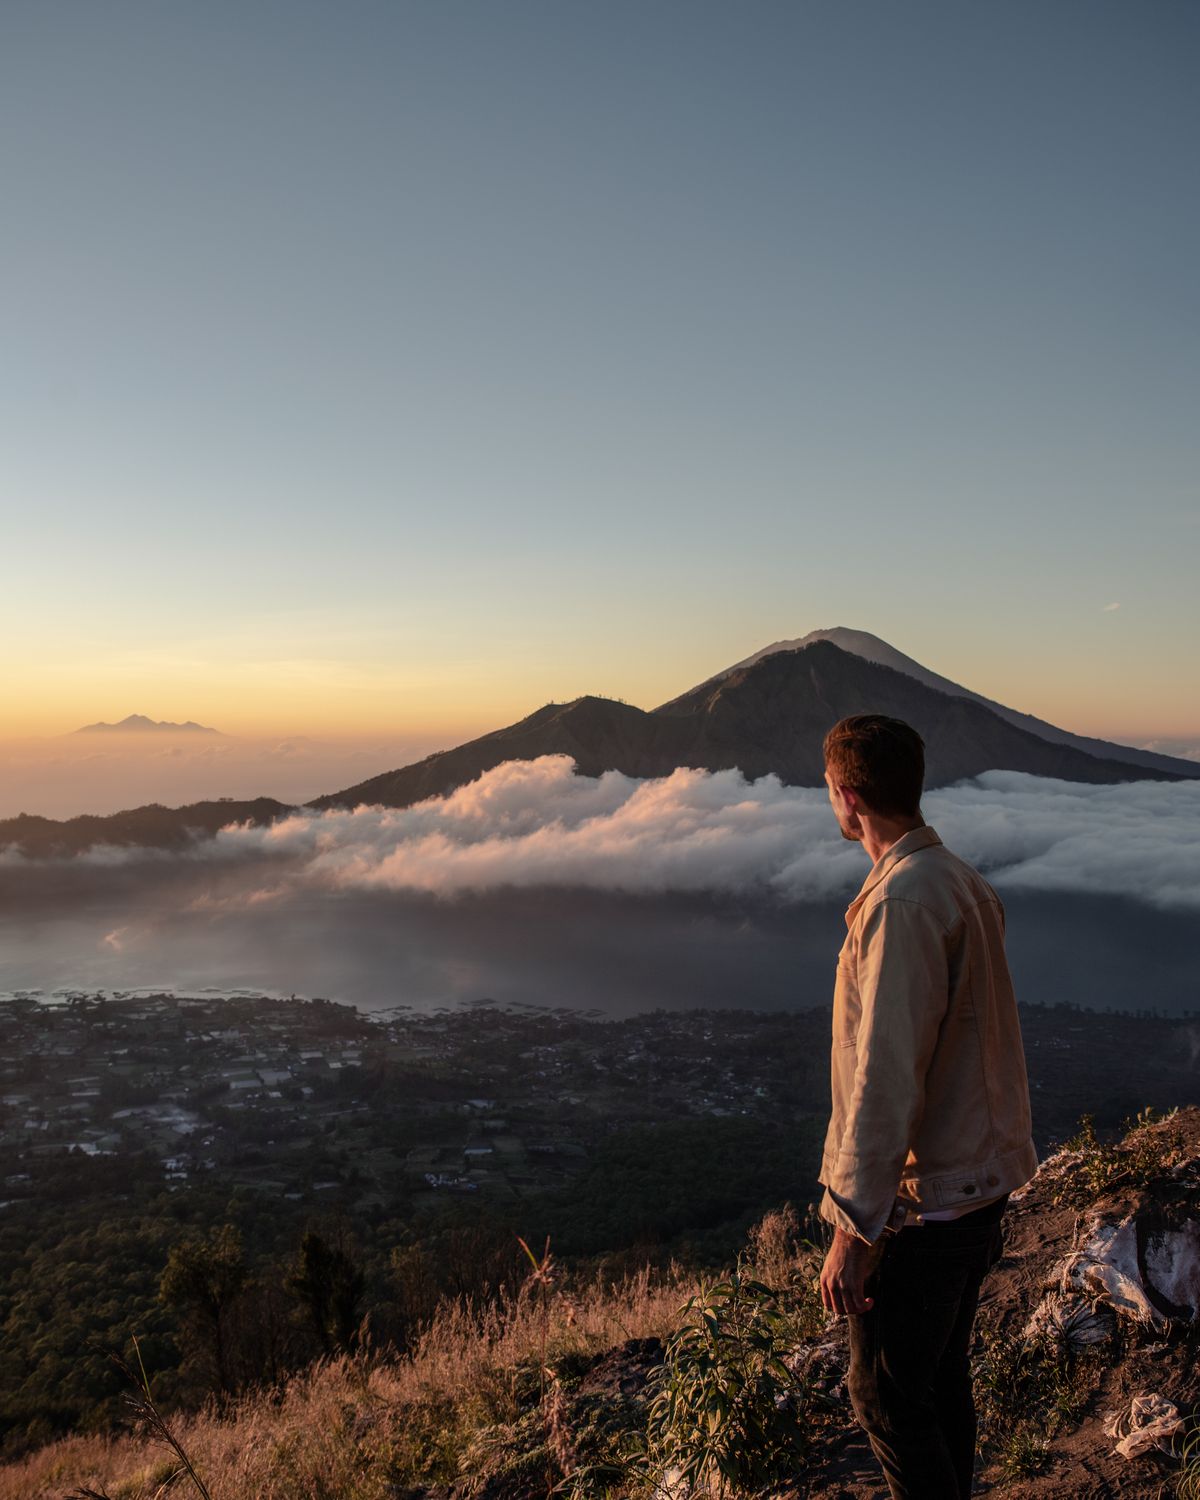
The person in it. The other shot is you, small on the ridge, sea of cloud behind, the volcano ahead. It's the one people actually stop scrolling on. Put your subject on the rim facing the light, expose for the sky, and let them read as a silhouette.
When to be there
The window is short and everyone is chasing it. Sunrise is around 6am, and the trekking association's own schedule shows hundreds of people on the crater rim from about 5:30 to 7. Guides start groups between 2 and 4am so you're on top before the light comes. That timing isn't really optional if you want the shot, because the good colour lasts only a few minutes.
Two things stack the odds. Go on a weekday, which is quieter than a weekend. And go in the dry season, roughly April to October, when the sky is more likely to be clear. Get to the rim with time to pick your spot before the crowd fills in, because once the sun is up you're shooting over shoulders.
Rules and cost
| Permit / entry | Rp 100.000 per person, includes the mandatory trekking permit 1 |
|---|---|
| Guide | A licensed guide is required by the local association; adds Rp 300.000 to 600.000 per group 1 |
| Guided tour, all-in | Roughly Rp 1.200.000 to 1.800.000 per person with pickup and breakfast 2 |
| Trail start | Between 02:00 and 04:00, to reach the summit before sunrise 1 |
| Sunrise | Around 06:00 5 |
| Summit | 1,717m, about 700m of climbing from the trailhead near Toya Bungkah 2 |
| Temperature | About 10°C before dawn, colder in the wind 1 |
| Provided by the guide | A head-torch and a walking pole at the trailhead 4 |
| Hours | The mountain is open 24 hours, every day 1 |
| Back by | About six hours door to door, back near 11:00 3 |
Last checked 22 September 2026. Fees in Bali change often and differ between gates, so carry cash and treat these as a guide.
None of the sources we checked lists a separate camera fee or a drone rule for the summit trek. If you're weighing a drone for aerials elsewhere in Bali, our drone rules guide sticks to what the Indonesian sources actually say, and ignores the drone-permit stories that circulate unsourced on other sites. On the summit itself, the rim is packed with people at sunrise, which is its own reason to think twice about flying.
Gear for the sunrise shot
The hard part is the contrast: near-black caldera under a burning sky, all in low light. A phone in auto will pick one and lose the other. A full-frame body holds that range and stays clean when you push the ISO in the dark before the sun. Pair it with a 24-70mm, which goes wide enough for the whole rim and lets you reframe on Agung without moving your feet on loose gravel. Add a light travel tripod for the blue hour, when you'll want a slow shutter and steady ground. That's the full-frame kit, cut down to what you'll actually carry up.
One thing about the ground: it's loose volcanic grit the whole way up, and the wind carries it across the rim. Pick your lens at the bottom and leave it on. A gritty summit at 5am is the last place you want to be swapping glass over an open sensor, and the 24-70 covers the scene so you never have to.
Starting points, to adjust on the morning:
- Expose for the sky. Let the land go dark and lift it later. Shoot RAW so you can. Auto will chase the bright sun and crush everything below the horizon.
- Before the sun, on the tripod: low ISO, aperture around f/8, and a slow shutter of a second or more. Let the tripod do the work while the sky is still blue.
- Handheld as it gets light: open the aperture up, raise the ISO until the shutter is fast enough to hold steady, and accept some noise. A slightly grainy shot beats a blurred one.
- Bracket the big moment. When the sun breaks behind Agung, fire a few frames at different exposures. You get one pass at this, and you can blend them at home.
- Keep a spare battery warm. The cold drains them fast. An inside jacket pocket keeps one alive for the walk down.
Keep the whole climb: the pocket kit
The landscape is one frame. The part you'll actually rewatch is the climb: head-torches bobbing up the dark, the cold at the top, the moment the sky turns from black to gold. That's hard to film with a big camera and cold hands. A pocket gimbal camera is the easy carry here. It's stabilised, it holds up as the light goes from almost nothing to bright, and you run it one-handed while the other hand is on your pole. It lives in a jacket pocket between shots, which keeps its battery warm as a bonus. It's the heart of our everyday creator bag, and it's the one piece that films the whole morning.
If you'd rather grab the whole scene and choose the framing later, a 360 camera on a stick catches the rim, the sky and you in one pass. On a narrow, crowded rim where you can't step back, that's worth a lot. Ask us and we'll add one.
The morning, start to finish
Book the day before with a licensed guide, since you can't climb without one. Sleep early, because pickup from Ubud is around 2:30am. Layer up, drop a warm spare battery in an inside pocket, and set your camera before you leave the villa so you're not fiddling with menus in the dark. Climb with the pocket camera rolling. When you reach the rim, find your spot early, get the tripod down, and expose for the sky. Shoot the blue hour first, then bracket hard when the sun breaks behind Agung. You'll be heading down by 7 while most people are still arriving, and back near 11 with the shot and the climb both filmed.
You'll do this once. It's a cold, dark, early climb for a few minutes of light, so it's worth carrying a camera that can hold the bright sky and the black caldera at the same time. See what's in our camera rental range, tell us your dates, and we'll deliver it to your villa the night before.
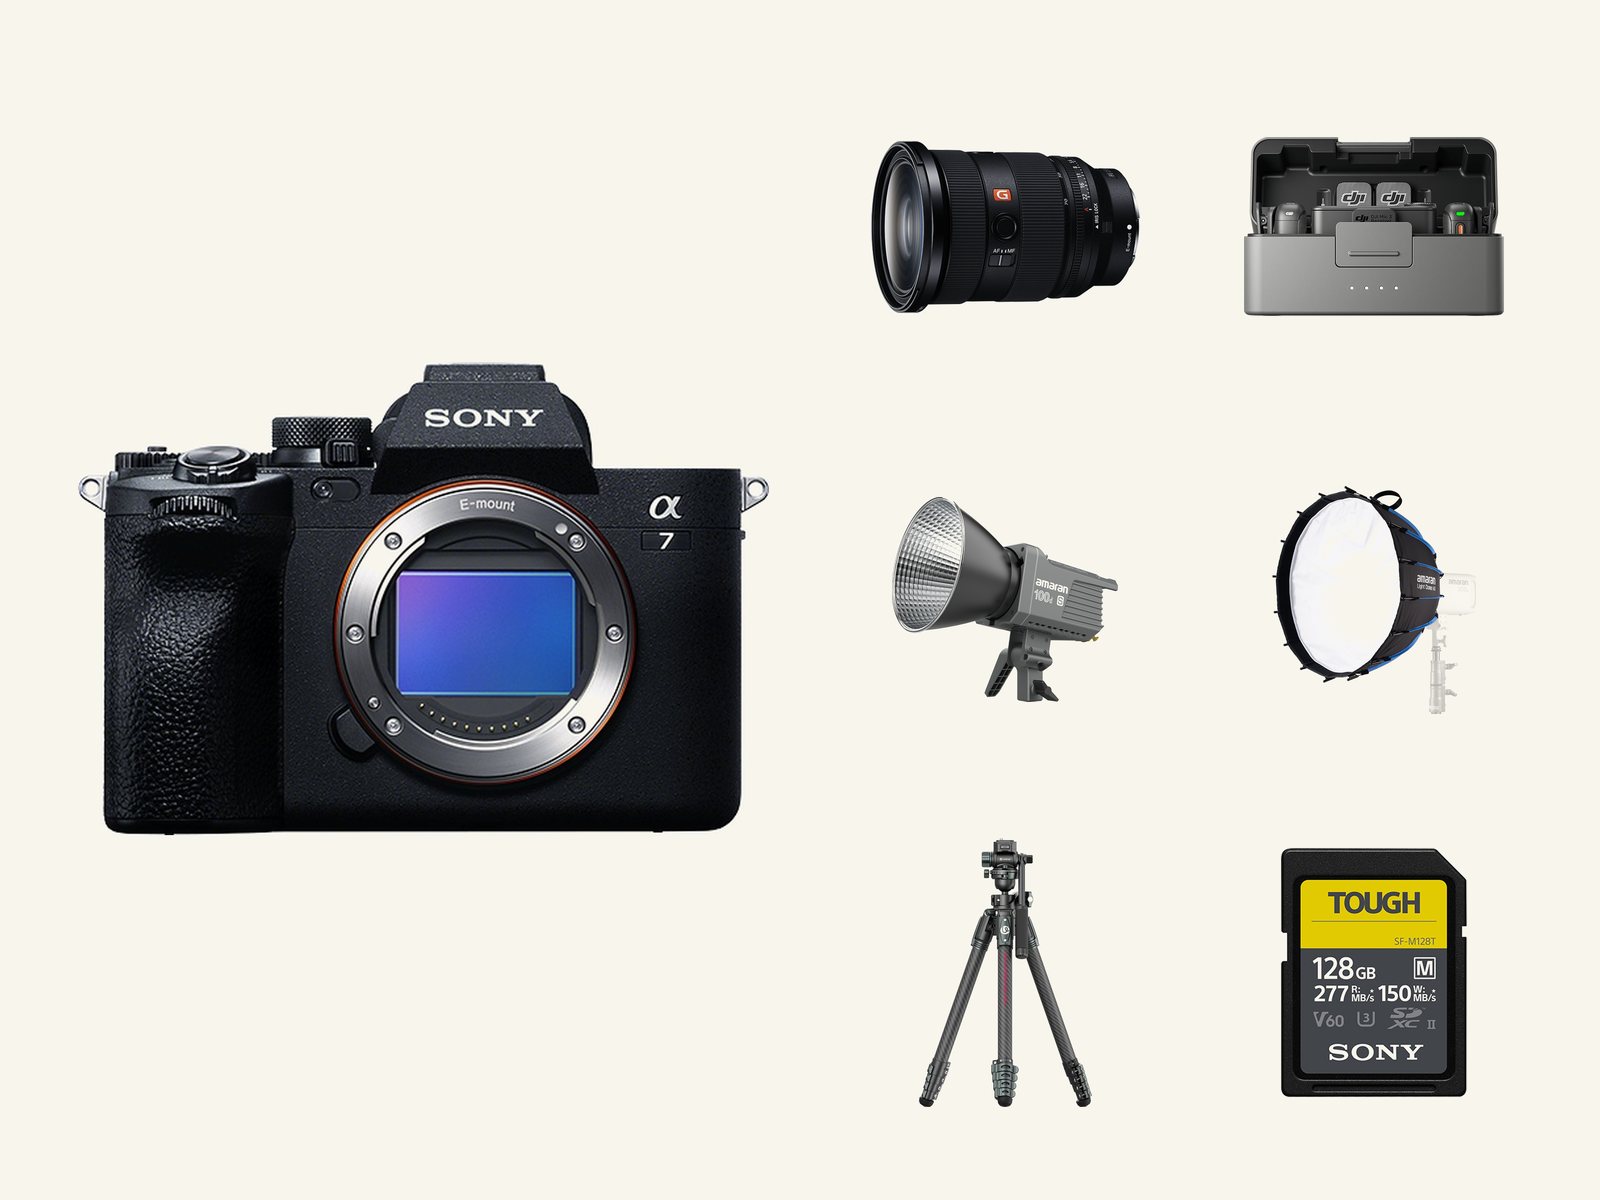 The Go Bag for this dayThe Pro Camera Kitfrom Rp 1.125.000 a day, delivered to your villaThe full-frame body, the 24-70 and a travel tripod are the parts you'll carry up. Ask and we'll build it light for the climb.See what is inside →
Quick answers
Do you need a guide to climb Mount Batur for sunrise?
Yes. The local trekking association requires every hiker to go with a licensed guide, and you cannot start the trail without one. The guide adds about Rp 300.000 to 600.000 per group on top of the Rp 100.000 permit.
How much does the Mount Batur sunrise trek cost in 2026?
The permit is Rp 100.000 per person and includes the trekking fee. A full guided tour with hotel pickup and breakfast runs roughly Rp 1.200.000 to 1.800.000 per person, with some operators quoting closer to Rp 1.490.000 to 1.600.000. Confirm what's included before you book.
What time does the Mount Batur sunrise hike start?
Most hikers begin the climb between 2 and 4am to reach the summit before sunrise, which is around 6am. Pickup from Ubud is usually about 2:30am. The whole trip runs roughly six hours and gets you back near 11am.
How cold is the top of Mount Batur?
Around 10°C before dawn, and colder in the wind on the rim. That's far colder than the rest of Bali, so a warm jacket or windbreaker is not optional. The cold also drains camera batteries, so bring spare power.
What camera do you need for Mount Batur sunrise?
For the framed landscape, a full-frame camera with a 24-70mm lens holds the dark caldera and the bright sun together, on a light travel tripod. To film the climb and the summit reveal one-handed in the cold, a pocket gimbal camera is the easier carry.
Can you fly a drone at Mount Batur for sunrise?
None of the sources we checked publishes a drone rule for the Batur summit, so we won't state one as fact. The rim is packed with people at sunrise, which is its own reason to be careful. See our drone rules guide for what the Indonesian sources actually say.
Sources
- Mount Batur Official: opening hours and fees, permit and mandatory guide cost (2026)
- Tristan Balme: My Mount Batur sunrise hike, complete 2026 guide (costs, altitude, what to bring)
- Indo Travel Team: Mount Batur sunrise trek, honest review, tips and 2026 price guide
- Coi Traveler: Mount Batur sunrise hike, the complete guide (timing, terrain, the view)
- Wanderlust Chloe: Mount Batur sunrise hike (updated January 2026)
- Gusmank Photography (Bali photographer): Mount Batur, Kintamani photography routes